
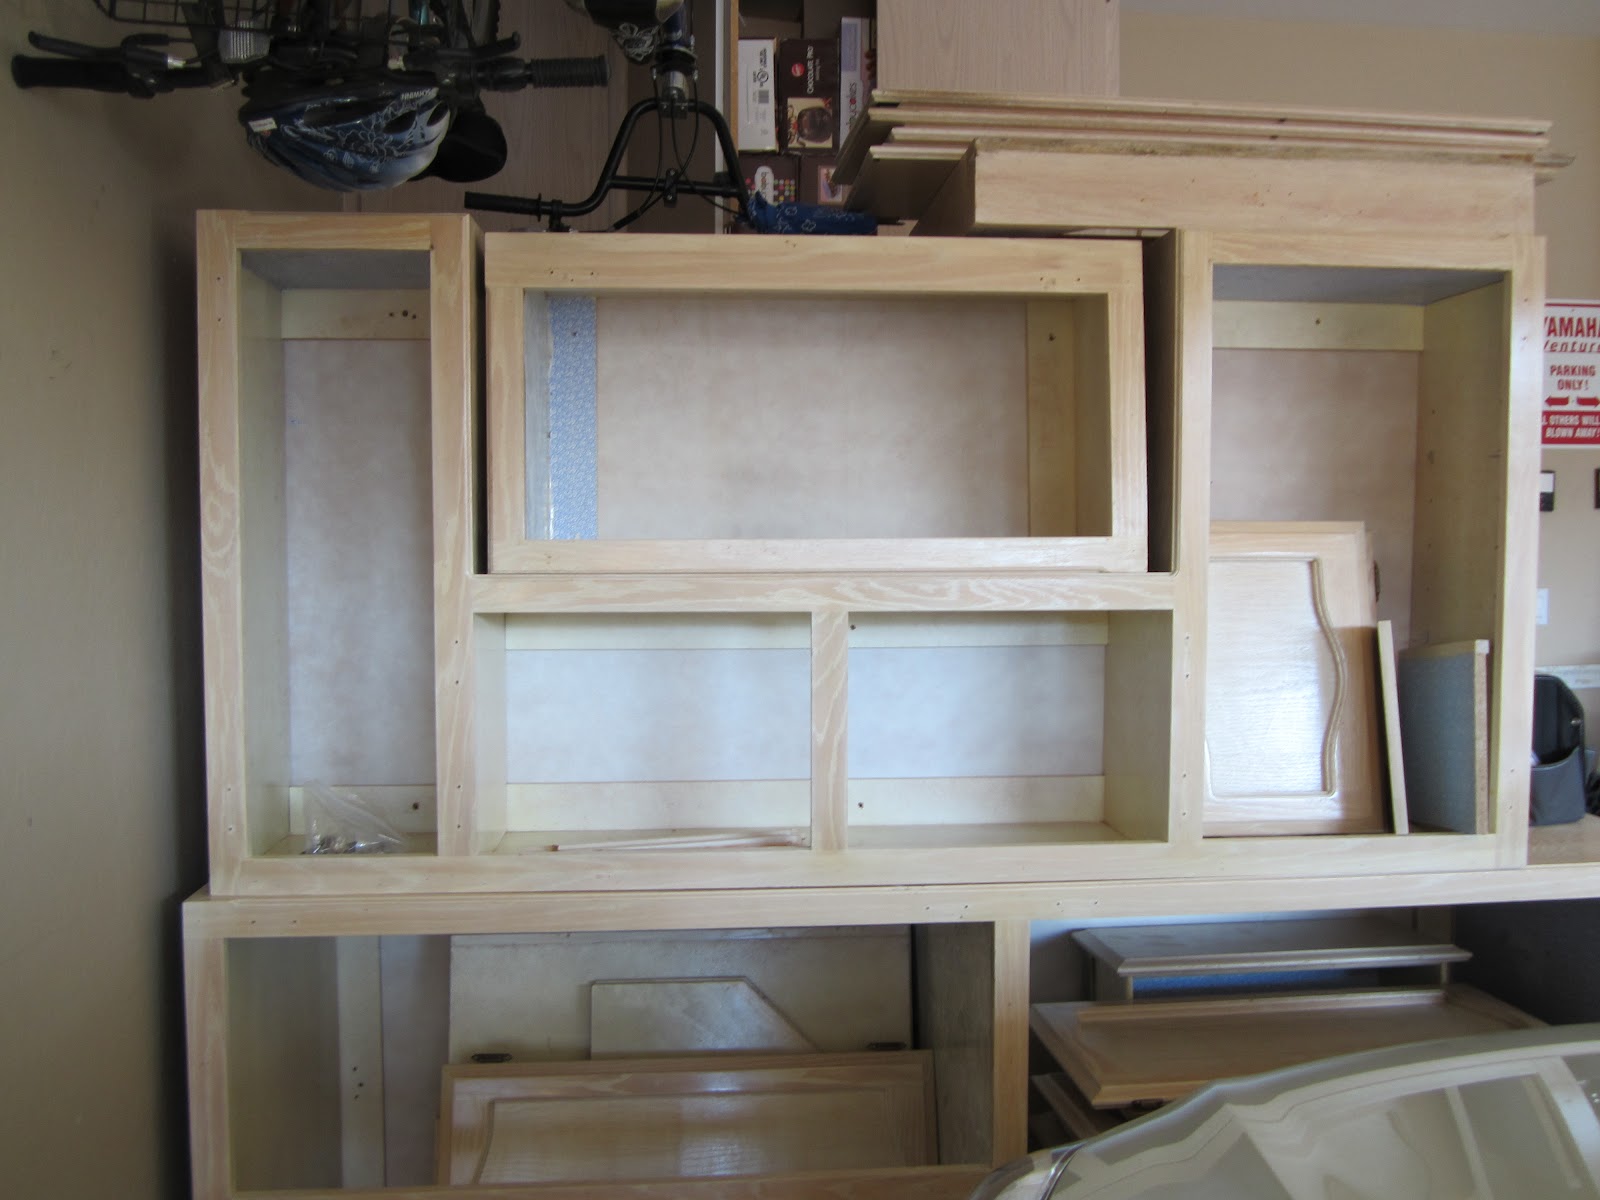
Bringing the cabinets home,
Thank goodness we had the space in our garage to store them as I began the prep process. They took up alot of room but we managed to them on top of one another minimizing the space needed.


Now to figure out what color I wanted took way more time then it should of, but my thought was I was I knew it was going to take many hours of prep work, I only wanted to paint them once. When I came upon this beautiful canvas I knew the colors that would be used. It's not blue and not green but somewhere in the middle.

After going through many paint samples I came up with the color Harmonics by Behr from Home Depot.
I also wanted them to look shabby and vintage, so I also decided to glaze them with Martha Stewarts glaze, which made all the difference and exactly the look I wanted to achieve.

My husband purchase a paint sprayer to prime the cabinets. He lightly sanded each one and them primed all the cabinets and doors. I removed all the door hinges and primed and painted them, as they were brass and I didn't want to purchase new hinges, even at $3 a piece that can add up. I went with dark brown on the hinges. I would later find the perfect knobs at one of my favorite stores Hobby Lobby. As they are always 50% off they were $1.50 each, quite the bargain. The priming and the painting of the cabinets took quite some time, but we were able to complete the prep before the AZ heat arrived. We have a nice big concrete side yard, so it worked well as a painting station.
The next step was to pack up the office, remove the large heavy 3 piece desk, and remove all the carpet as we both agreed our favorite wide plank laminate would be the best flooring. Again luck was on our side, and we found the flooring at Costco, and on SALE for $1.25 sq ft. Total cost for new floor was under $200. I must say Charlie and I have gotten pretty good at installing wood flooring over the years and we love how it looks and it's durability. It took us a day to install.

Cabinets painted and installation begins. I decided to do the finish paint coat and glazing process after they were actually installed. I'm lucky to have a brother who builds homes as his trade, and that he was willing to give up a weekend to help us install the cabinets. Before the cabinets went I asked Charlie to install some counter height outlets for me, this would allow me to have power anywhere on the work surface area. He is also a pro and electrical, lucky me again.

To help get a better visual, I cut out cardboard the actual length of each cabinet, it helped in playing around with the final layout design and allowed me to move pieces around without actually moving any cabinets until the we came up with the best configuration. The wall cabinets gave me the most challenge as they were each made to go over a specific cabinet when in their original kitchen, so it took time to figure it all out. Being a bit symmetrical, I like things to line up but knew that wasn't going to be possible what we had to work with. Cabinets that went over a store, did end up being the one I liked the most, you'll understand why when you see the finished room. Primer and dark brown spay paint make my hinges like new.


Cabinets installed and now the little details, adding door knobs, trim,molding, accessories, magnet black board. Least favorite part, moving everything in, although it did allow me to see exactly what I have and finding a new home for it all.
I purcashed 2 sheets of 3/4 MDF and had home depot rip all pieces to make my counter tops and hutch. Cost for products purchased, MDF $80, primer 3 cans $60 finish paint $70, glaze $25. Knobs $39, flooring $175, and my hubby insisted on a new flat screen which fit just right in my wall cabinet. Yes I know he spoils me. He even got me my own personal air conditionor because the room just happens to be the warmest room in the house. go figure. Now I can cool my room down without having to cool the other 4,000 sq ft.. It couldn't have turned out any better and I absolutely love the finished room! So if you ever hear of someone remodeling their kitchen, don't walk but RUN to claim their old cabinets, you won't be sorry.


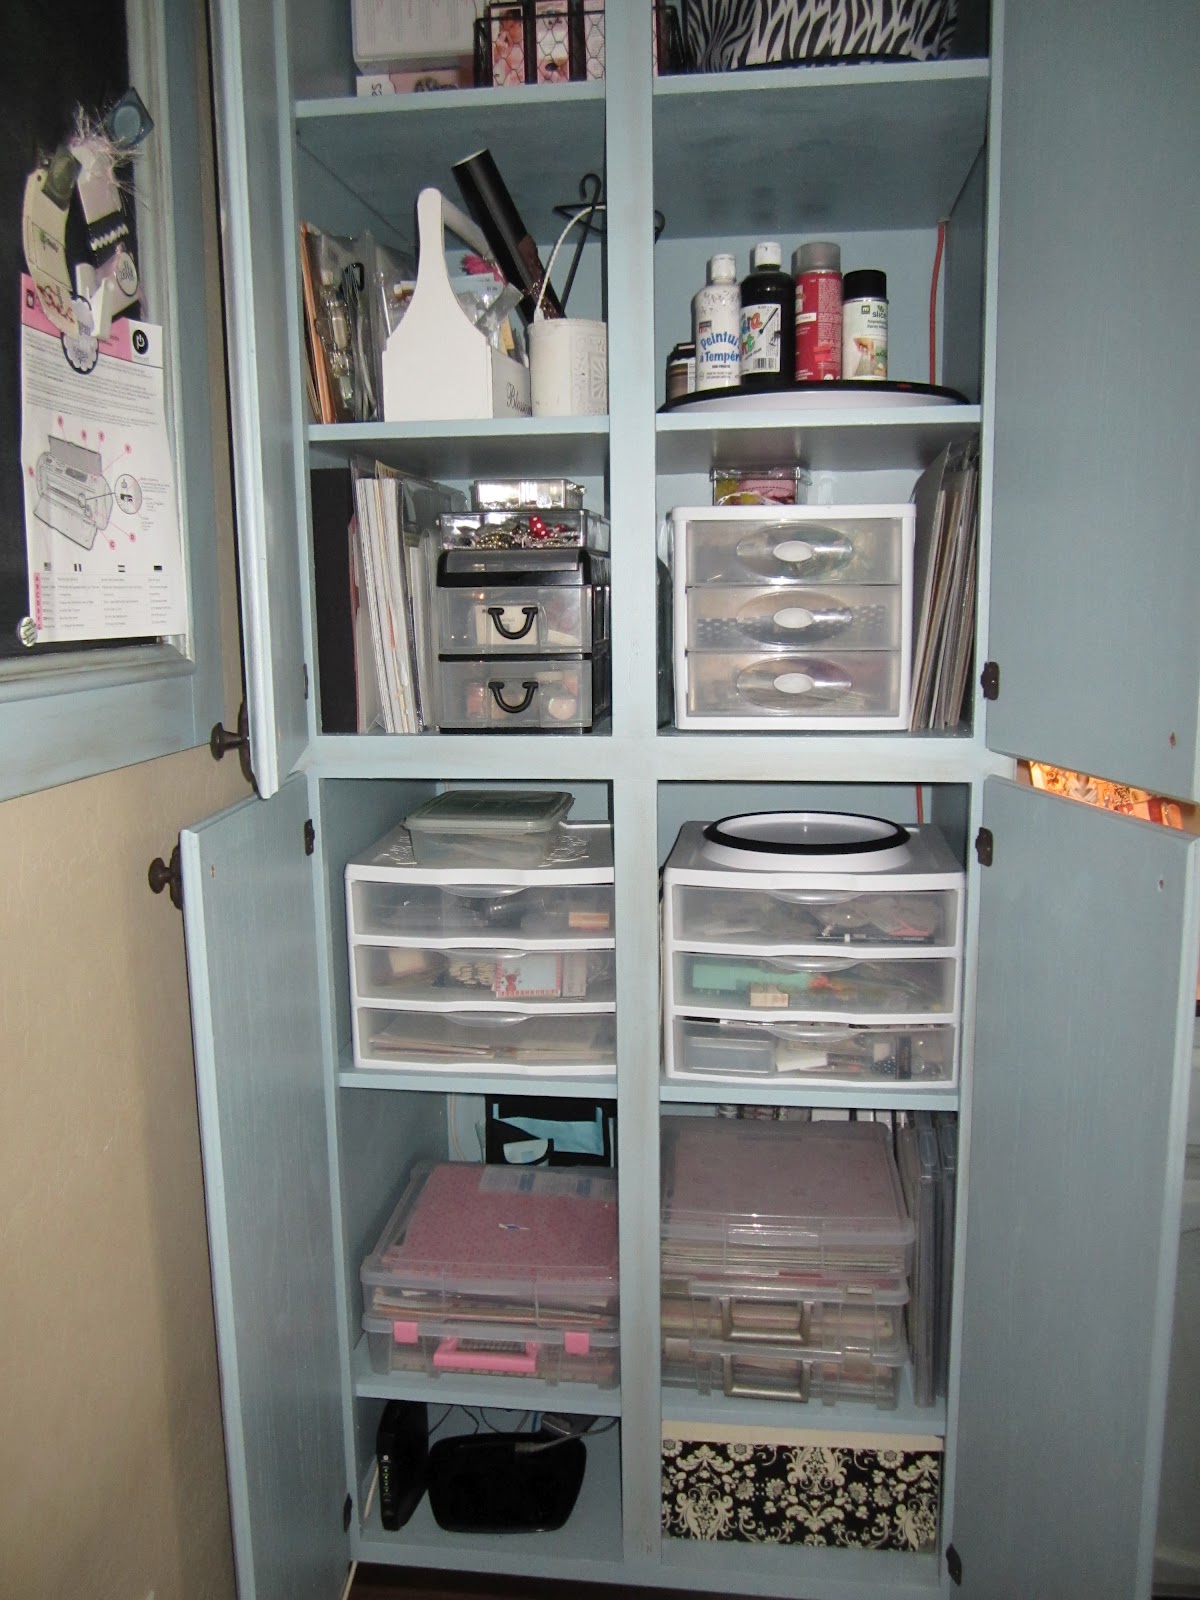
Lots of storage space here and in the hutch


Final touch was to purchase some cute fabic from Hobby Lobby and cover the counter on my island, then added a cut piece of plexiglass to make a smooth durable work surface. And yes even Randall's dog Jackson likes the new room.

I think it is beautiful, Kim!!! You have every crafters dream room......congratulations!!
ReplyDeleteWow. Amazing wish ya"ll lived closer to NC to come help me fix my room up. Beautiful job and a fantastic veiw.
ReplyDeleteNikki J
Omgosh what a blessing to be able to have this place of relaxation to be creative.....it looks great!!!! now I can't wait to see what ideas come from there......lol
ReplyDeleteLooks great and you did such a good job detailing the project with the narrative and pictures. Enjoy!
ReplyDeleteWow! Now that is an incredible, dreamy space! Looks like it was a labor of love! Congrats and enjoy. The paint color is divine!
ReplyDeletexoxo,
Jen